Complete Guide to LED Hydroponic Grow Lights: Modern Advancements, Installation, and Optimization
LED grow lights have revolutionized indoor hydroponic gardening. Modern LED systems are energy-efficient, produce less heat, and offer spectrum control, allowing growers to fine-tune light for every stage of plant growth. This guide provides a comprehensive overview of LED technology, from early-generation limitations to cutting-edge full-spectrum lights, and explains how to choose, install, and optimize LEDs for your hydroponic system.
1. Introduction to LED Grow Lights
LEDs (Light Emitting Diodes) provide light by passing electricity through semiconductors. Compared to traditional HID lights like MH and HPS:
- LEDs produce less heat, reducing the need for intensive ventilation.
- They consume less electricity per unit of light output.
- They can be engineered for specific light spectrums ideal for vegetative or flowering stages.
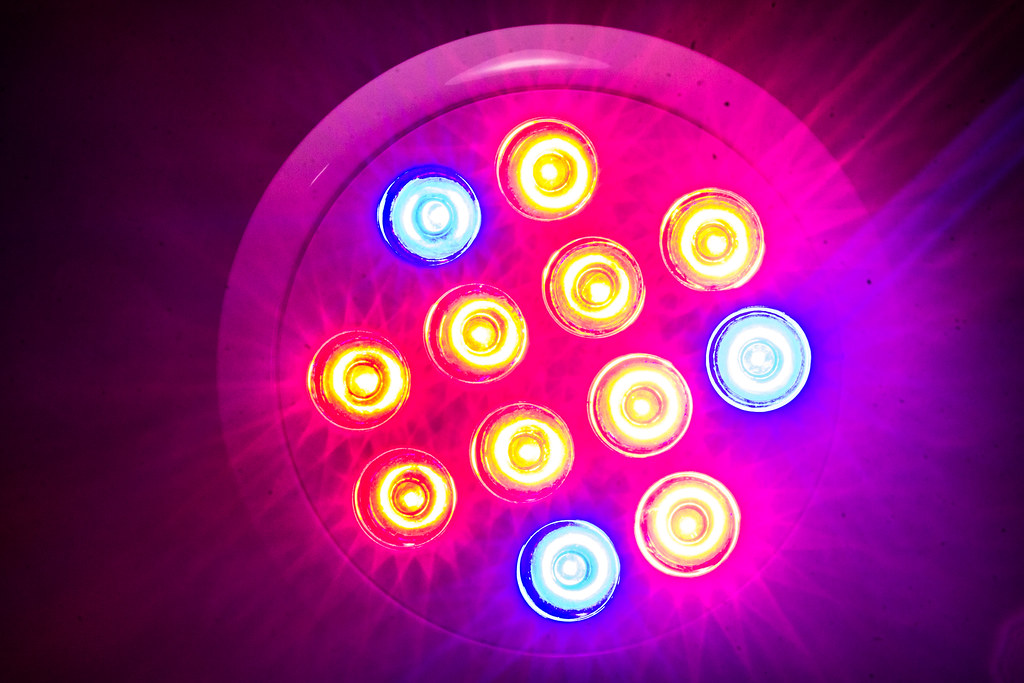
Recent advances include **full-spectrum LEDs**, adjustable intensity, and multi-chip designs, making them suitable for all hydroponic crops from seedlings to mature fruiting plants.
2. Advantages of Modern LEDs
- Energy efficiency: Uses 40–60% less power than HID lights for the same yield.
- Low heat output: Reduces risk of heat stress and simplifies room climate control.
- Full-spectrum customization: Tailor light for vegetative (blue) or flowering (red) stages.
- Longevity: Many LEDs last 50,000–100,000 hours.
- Compact designs: Fit smaller grow spaces and allow closer light placement without burning plants.
3. Comparing LED Generations
Early LEDs (pre-2015) were limited by low PAR output and narrow spectra. Modern LEDs provide:
- High PAR output for faster growth.
- Adjustable or full-spectrum white light, sometimes with added UV or IR for flowering optimization.
- Better energy efficiency (1.5–2x improved lumens per watt).
- Improved thermal management with heatsinks and fans.
Tip: Choose LEDs with verified PAR ratings and adjustable spectrum to maximize growth at all stages.
4. LED Wattage and Coverage
LEDs are rated in actual watts consumed, unlike HPS/MH, which are rated by theoretical equivalent wattage. Approximate coverage for common setups:
| Wattage (Actual) | Coverage | Distance from Plants | Best For | Notes |
|---|---|---|---|---|
| 100W | 2′ x 2′ | 12–18 in | Seedlings, small herbs | Low heat, low energy use |
| 200W | 2.5′ x 2.5′ | 12–18 in | Leafy greens | Good for single-tier setups |
| 300W | 3′ x 3′ | 18–24 in | Medium vegetables, herbs | Can be dimmed to reduce stress |
| 600W | 4′ x 4′ | 24–30 in | Larger fruiting plants | Use adjustable spectrum for flowering |
| 1000W | 5′ x 5′ | 30–36 in | Commercial or high-yield setups | Check thermal management |
“Note: Recommended distances are based on heat output and light intensity. LEDs produce less heat, but some high-output panels should be placed slightly higher to avoid bleaching.”
5. Spectrum and Light Cycles
LEDs allow precise control of light spectrum:
- Blue light (400–500nm): Vegetative growth, strong stems, compact growth.
- Red light (600–700nm): Flowering, fruiting, extended internodes.
- UV/IR supplementation: Optional; can improve flavor, terpene production, or flowering response.
Recommended light cycles:
- Vegetative: 18 hours light / 6 hours dark
- Flowering/fruiting: 12 hours light / 12 hours dark

6. Wiring and Electrical Considerations
LEDs operate on standard household voltages, but some commercial models require 220V. Tips for safe installation:
- Ensure fixture rating matches outlet voltage.
- Use surge protectors to prevent damage.
- Follow manufacturer instructions for daisy-chaining multiple lights.
- Consider dimmable drivers for intensity control.
7. Installation Tips
- Mount fixtures securely using chains or brackets rated for the weight.
- Adjust height according to plant stage (closer for seedlings, higher for mature plants).
- Maintain good airflow to dissipate any heat from high-power LEDs.
- Clean LED surfaces periodically to maintain optimal output.
8. Troubleshooting Common LED Issues
| Problem | Cause | Solution |
|---|---|---|
| Uneven growth | Insufficient coverage | Reposition lights, adjust wattage or number of fixtures |
| Stretching (tall, thin plants) | Too little blue light | Increase blue spectrum or reduce distance |
| Leaf bleaching | Light too close or high intensity | Raise fixture, dim if possible |
| Heat stress (rare) | Poor airflow | Add fans or increase distance |
9. Maintenance and Lifespan
- Check and clean LEDs monthly to prevent dust buildup.
- Monitor driver temperature and airflow around fixture.
- Replace LED units according to manufacturer lifespan (often 50,000+ hours).
10. Advantages vs Traditional HID
LEDs have overtaken HID lights in many small-scale setups because they:
- Use significantly less electricity for similar yield.
- Produce far less heat, reducing ventilation costs.
- Allow spectrum tuning to optimize every growth stage.
- Offer long-term reliability with low replacement frequency.
11. FAQ
Q1: Can multiple LED bulbs be used in one fixture?
A: Yes, many hoods or fixtures support multiple bulbs. Some are full-panel units, while others can combine smaller modules for larger coverage.
Q2: Are LEDs suitable for all hydroponic crops?
A: Yes. Adjust spectrum and intensity for leafy greens, herbs, or flowering/fruiting plants.
Q3: How close can I place LED lights to plants?
A: Check manufacturer recommendations. Generally 12–18 inches for seedlings and 24–36 inches for mature plants, depending on wattage and light intensity.
Q4: Do I still need supplemental ventilation?
A: Yes, airflow helps prevent hotspots and supports healthy plant transpiration.
12. Final Thoughts
Modern LED grow lights provide flexibility, energy efficiency, and spectrum control that make them ideal for hydroponic gardening. By choosing the right wattage, monitoring light distance, and adjusting spectrum according to plant stage, growers can maximize yields while keeping energy use low. Regular maintenance and proper fixture setup ensure long-term performance and robust growth for all types of hydroponic crops.


Leave a Reply